
Gaming Boards – Part 1
Okay, this started back in January of 2024 cause I’m not fast and well, reasons for not being able to really keep focus.. but anyway.. I originally posted about all this on the Oldhammer forum with a bit more information and as it was going on, so this is kinda a quicker recap.
I decided I wanted to make some Gaming Boards. While the point of boards allows you to re-arrange them and mix and match for different gaming environments really, but I had a set of 9 at first. Each one 300mmx300mm MDF square as the base. So first stage was to plan out the 9 boards
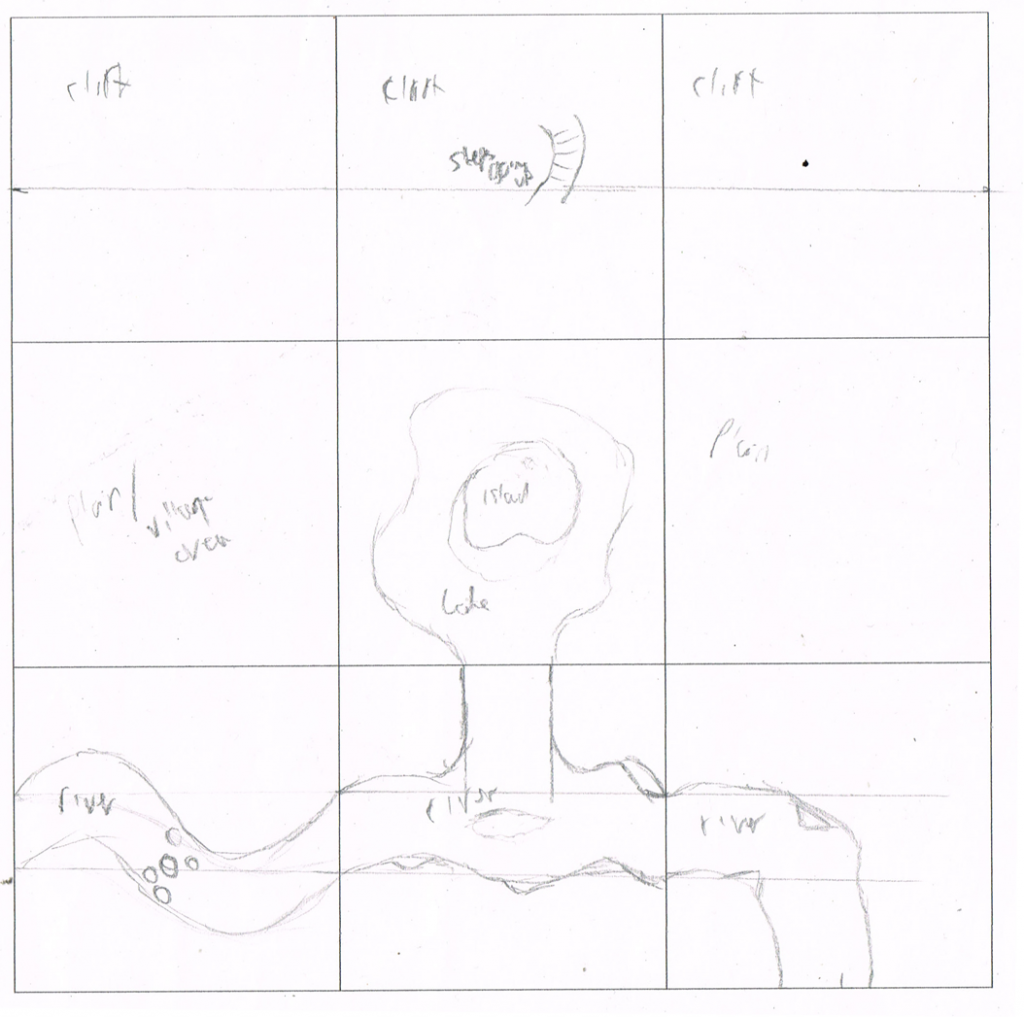
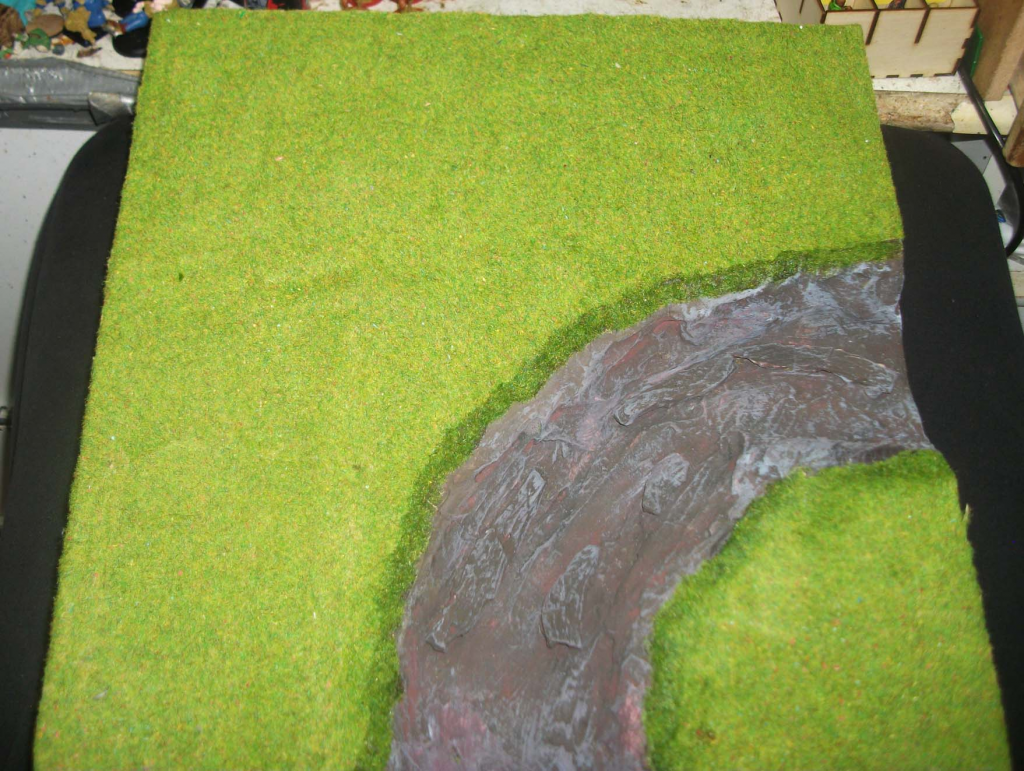
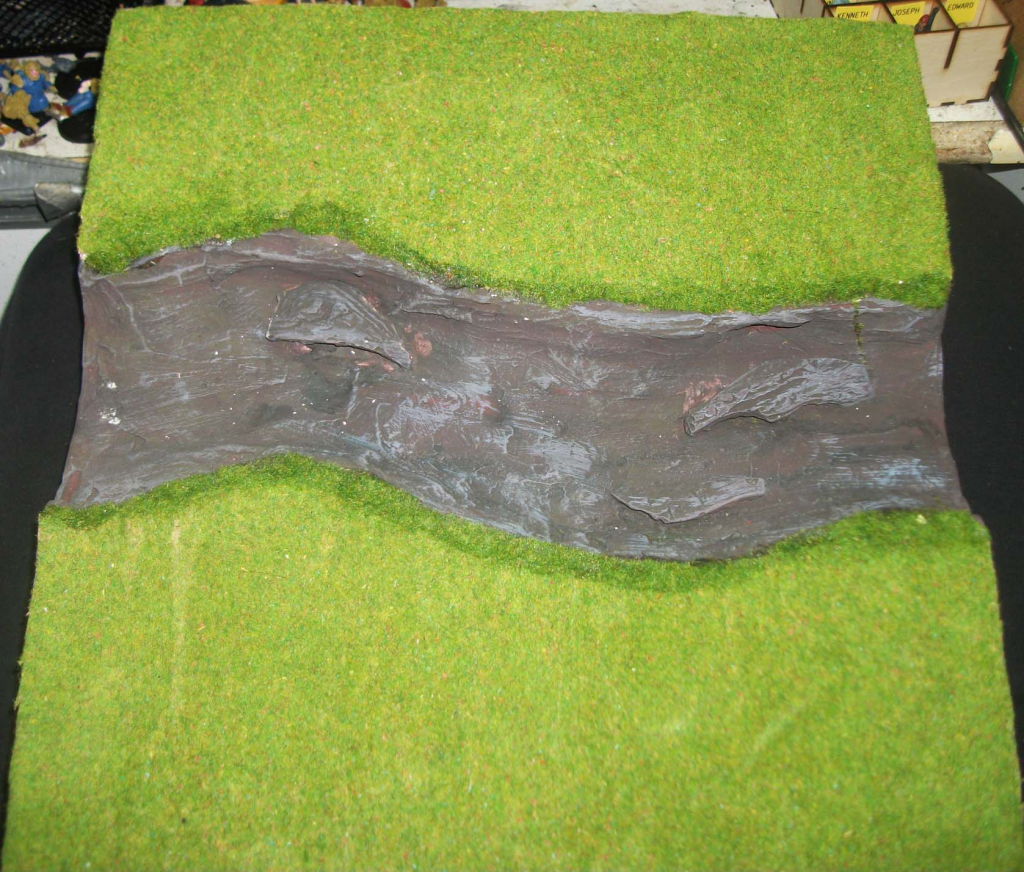
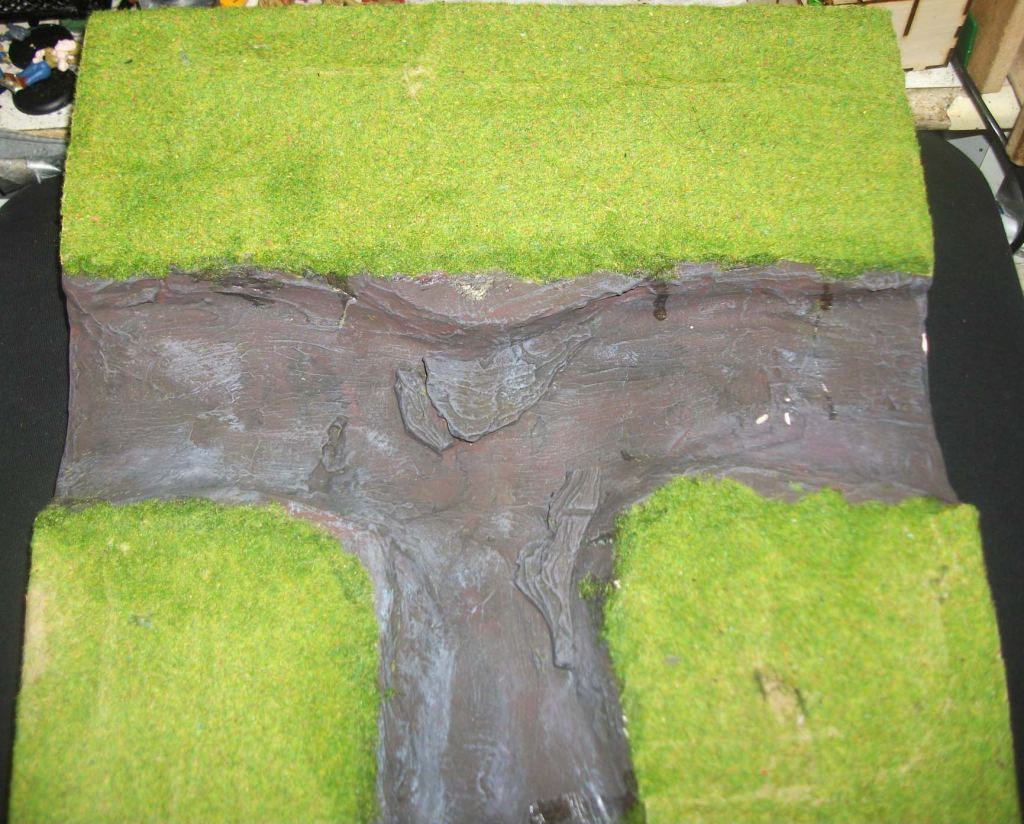
well, not great art cause really doesn’t need it, but there is a 3×3 grid. The top three have a cliff, the middle one with stairs giving access to the cliff top which takes up about half the board. in the middle row, 2 are plain open grass spaces, with the middle one being a large lake with a small island in the middle. The bottom three is 3 river sections, the first is kinda a ‘straight’ place (in that the two edges are level) with a possible rock bridge, the middle is a T junction and the last is a L 90 degree bend.
While there are number of ways of doing these, Like you might wish to do the rivers which you lay on top of a board, so they don’t need to be deep, and in fact you can pretty much give the impression of depth without doing much depth.. well.. I’m not like that. this have some depth. I got some cheap blue foam slabs.. can’t remember what the foam is called.. EPS maybe (isn’t that a vector format?) Anyway.. It was 40mm deep which is bigger then I wanted but.. eh, no problems. I laser cut some boarders for the boards but due to my ‘desktop’ laser cutter, I had to cut each side into 2 (mine has a total cut dimension of about 220 x 250mm. Don’t have space for a larger one and for some reason, the price jumps really go up. If I wanted a bigger one, I would have to get a more CO2 fancier one. Overkill for what I do mostly.
I decided the first ones I wanted to deal with was the River tiles. I did have a false start with some cliffs but yeah.. false start. To do the River tiles, cause I have some depth to work with, I wanted to make the edging boards to help keep things lining up. So I quickly sketched out the cross-section of the river.
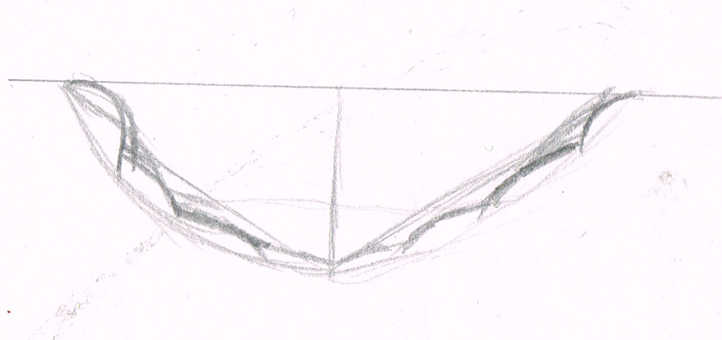
This was turned into a vector which I tweaked a bit to make this:

That gives me the edging for the Rivers. I did add keying/.. I’ve forgotten what fingering bits are called.. anyway, so they would hold together better and for the first three boards, I needed 2 sets for the straight river section, 2 for the 90 degree bend, and 3 for the T junction.
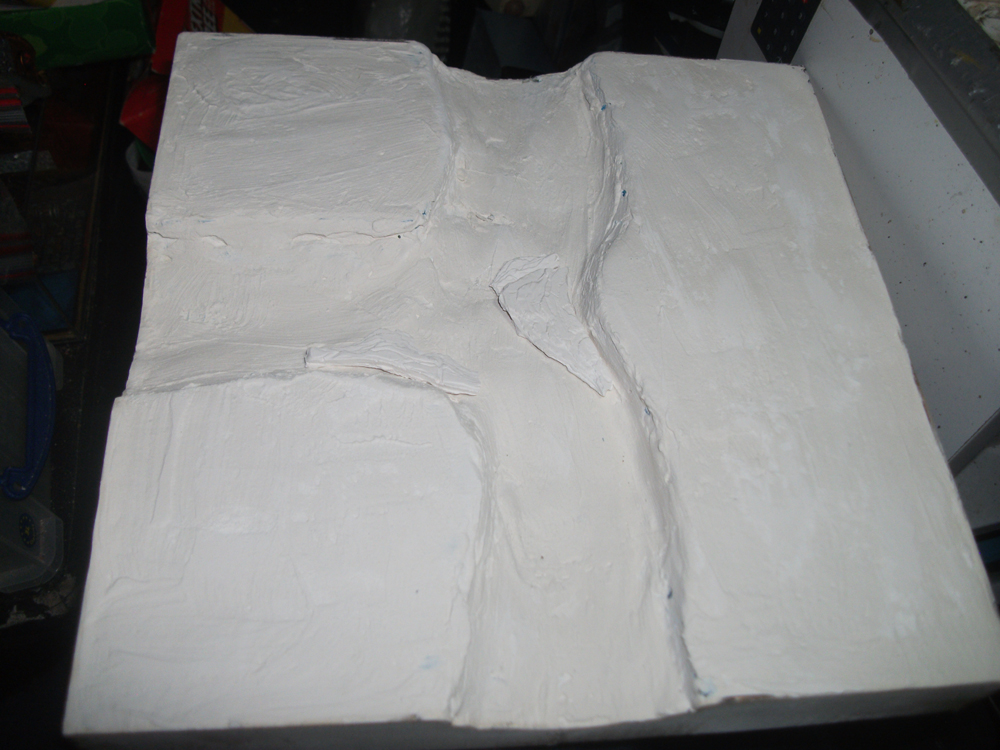
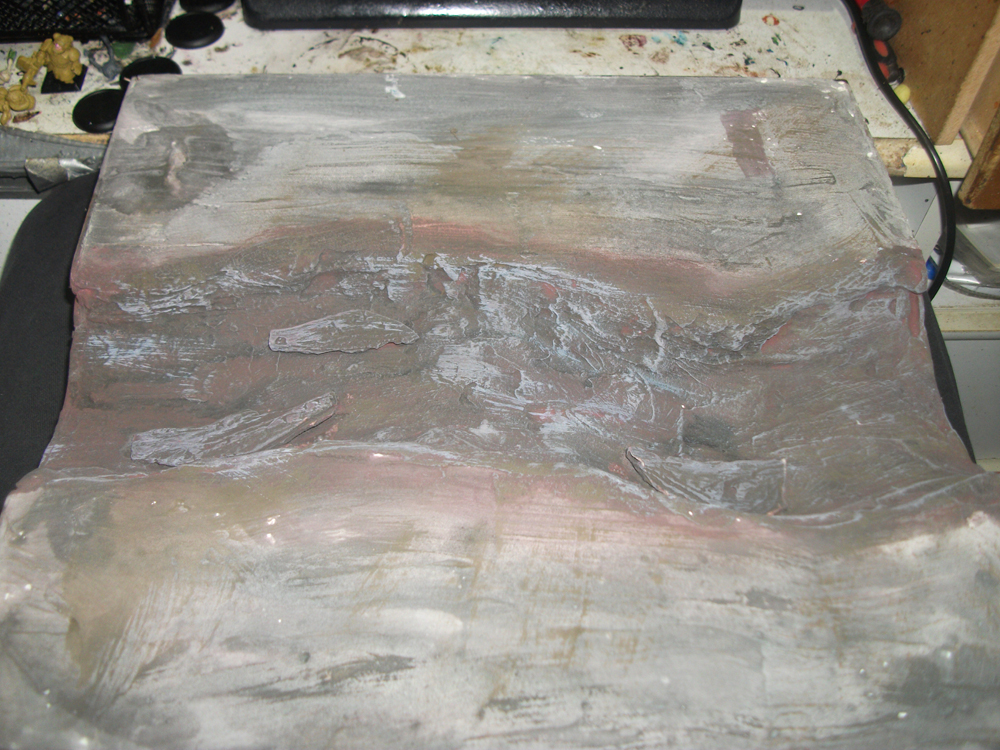
When I had them cut and added the straight pieces, I ended with this three boards:

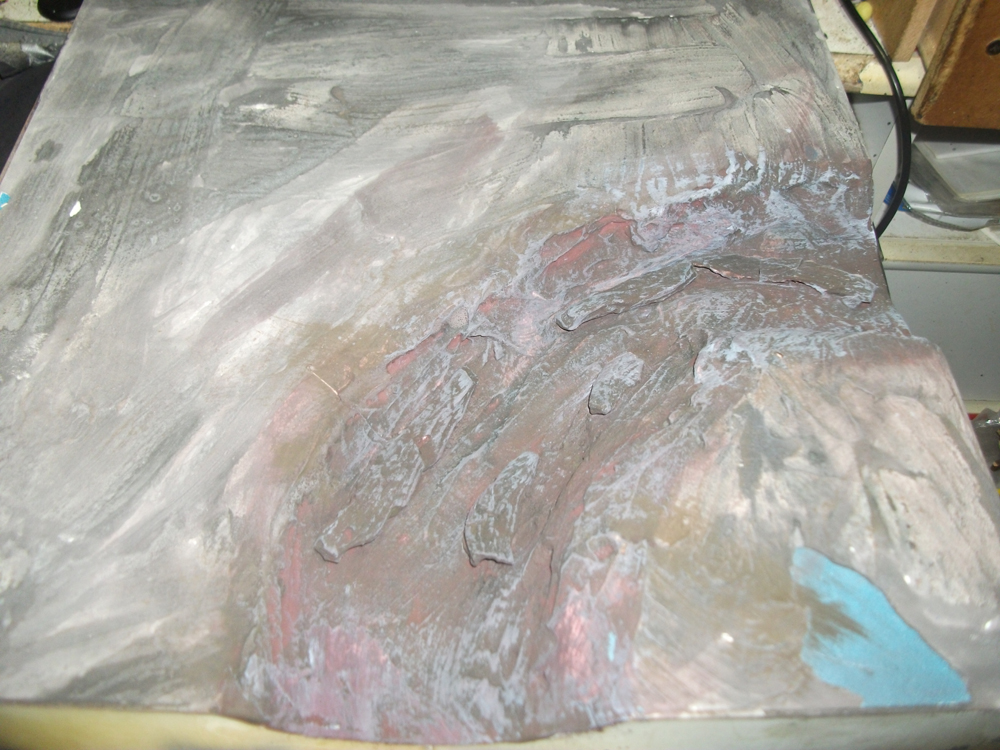
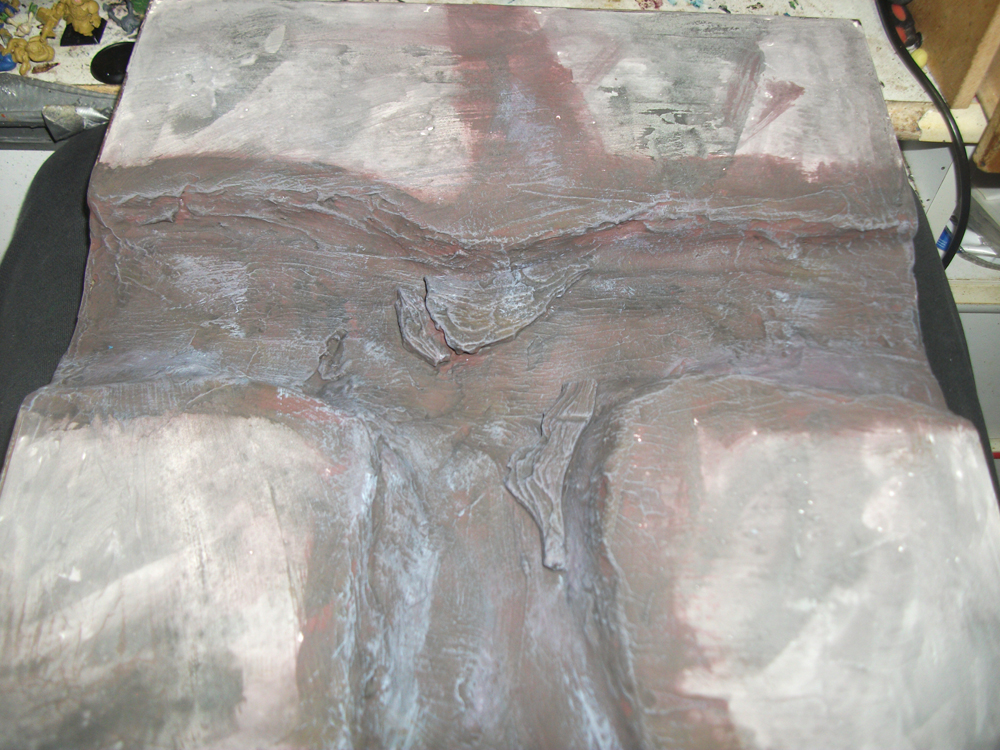
Next step was to carve out the river itself and then cover all the surfaces with polyfilla (or the like filler). I also added some plaster rocks. This gave the next stage:
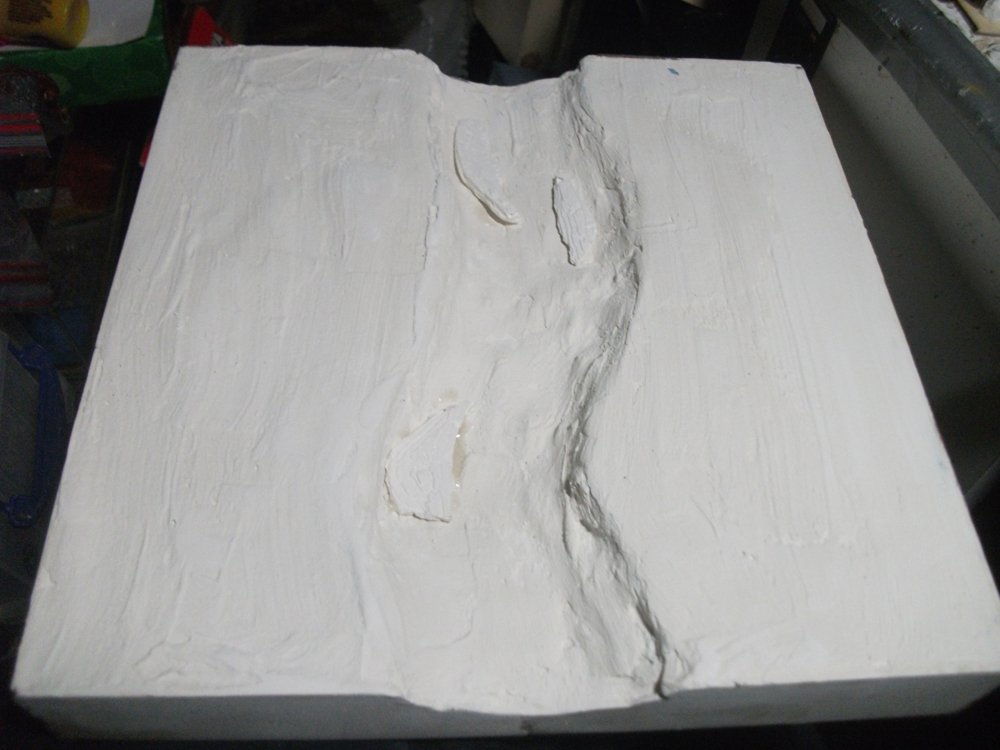

Small gaps in the plaster don’t matter. There was also a bit of sanding. anything that isn’t flat is good because that gives a more realistic surface. After this I gave them a fair bit of painting, which now including the lake tile because if I was doing the River sections, It makes sense to do ALL the water stuff together.
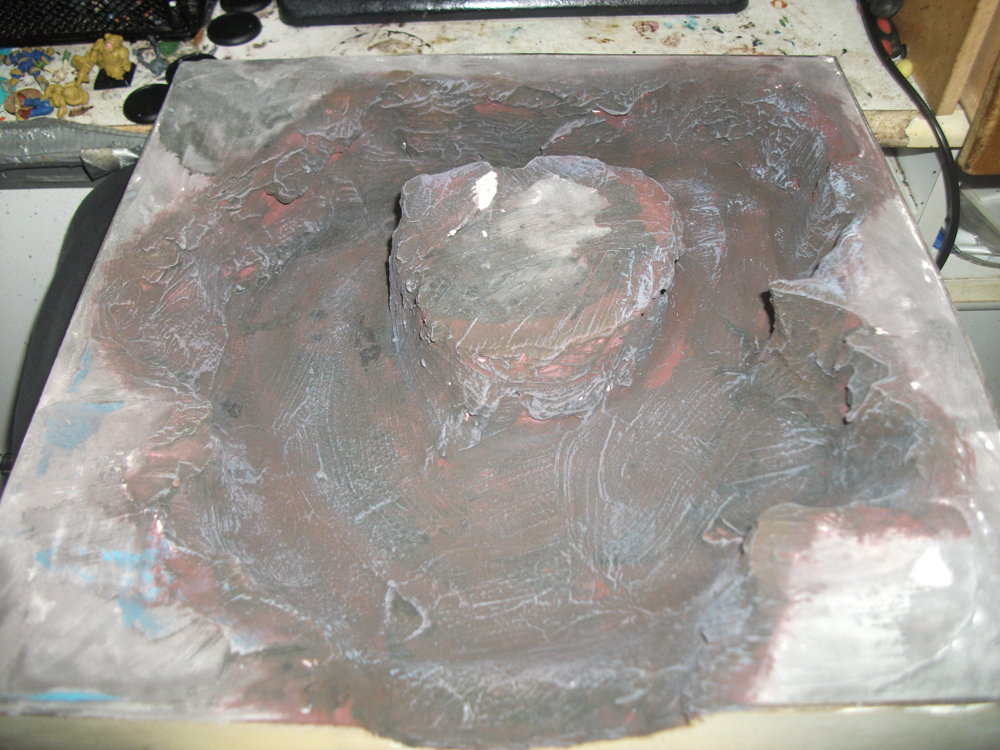
This is the Lake with island in the middle.
Before doing the Water, I next added the Grass which was mostly grass matt with some static. I didn’t have a static applier at the time and kinda shows.

Being a bit Nervous about pouring the resin cause when that is poured, there is no turning back.
Next part will show what happened with these four and the next two boards.
